Getting Started
To get started, please install the tool from the Visual Studio Marketplace. At this point only Visual Studio 2017/2019 are supported.
Visual Studio Quick Start Project
Getting started building tests usually involves a lot of work, finding the Selenium dlls, gathering the web drivers and putting it all into a Visual Studio Project. AS part of this tool we wanted to provide an easy way to get started with one click. With the tool installation, a new type of Visual Studio Project gets added that will do just that.
Start Visual Studio and click “Create new project”.
Under Visual C# > Test, select Safety Net Web UIMaps project.
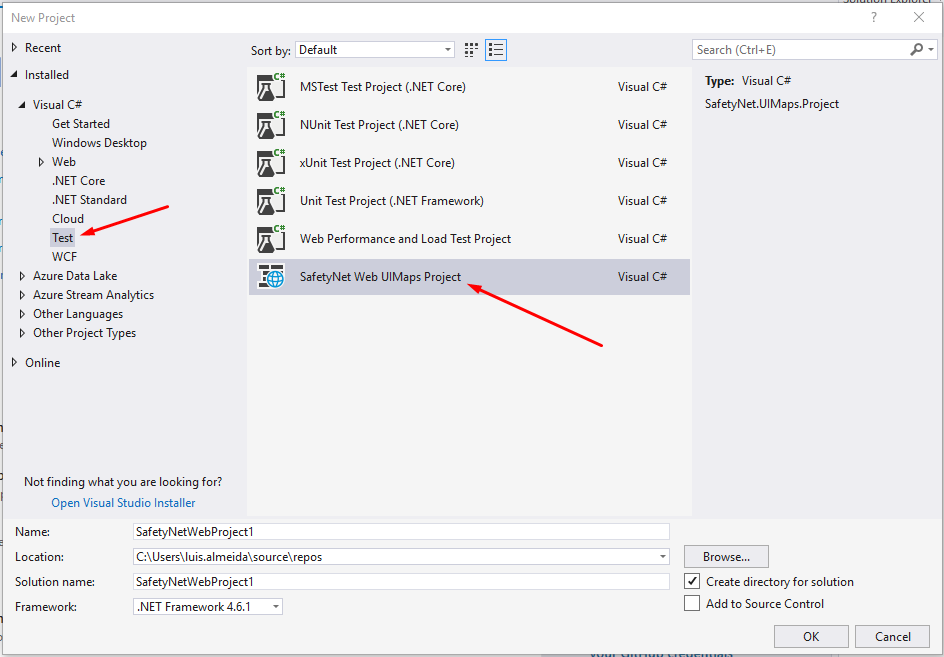
The project will contain all the nuget packages that you need to start testing. CLick create project and wait for it to be created. The current template include:
MsTest version 2 assemblies, since this is basically an enhanced unit test project.
Custom selenium webdriver dll (Is the strong named version of the package)
Chrome driver
SafetyNet framework libraries
A PageObjects folder containing a default seluimap file.
Nuget Packages
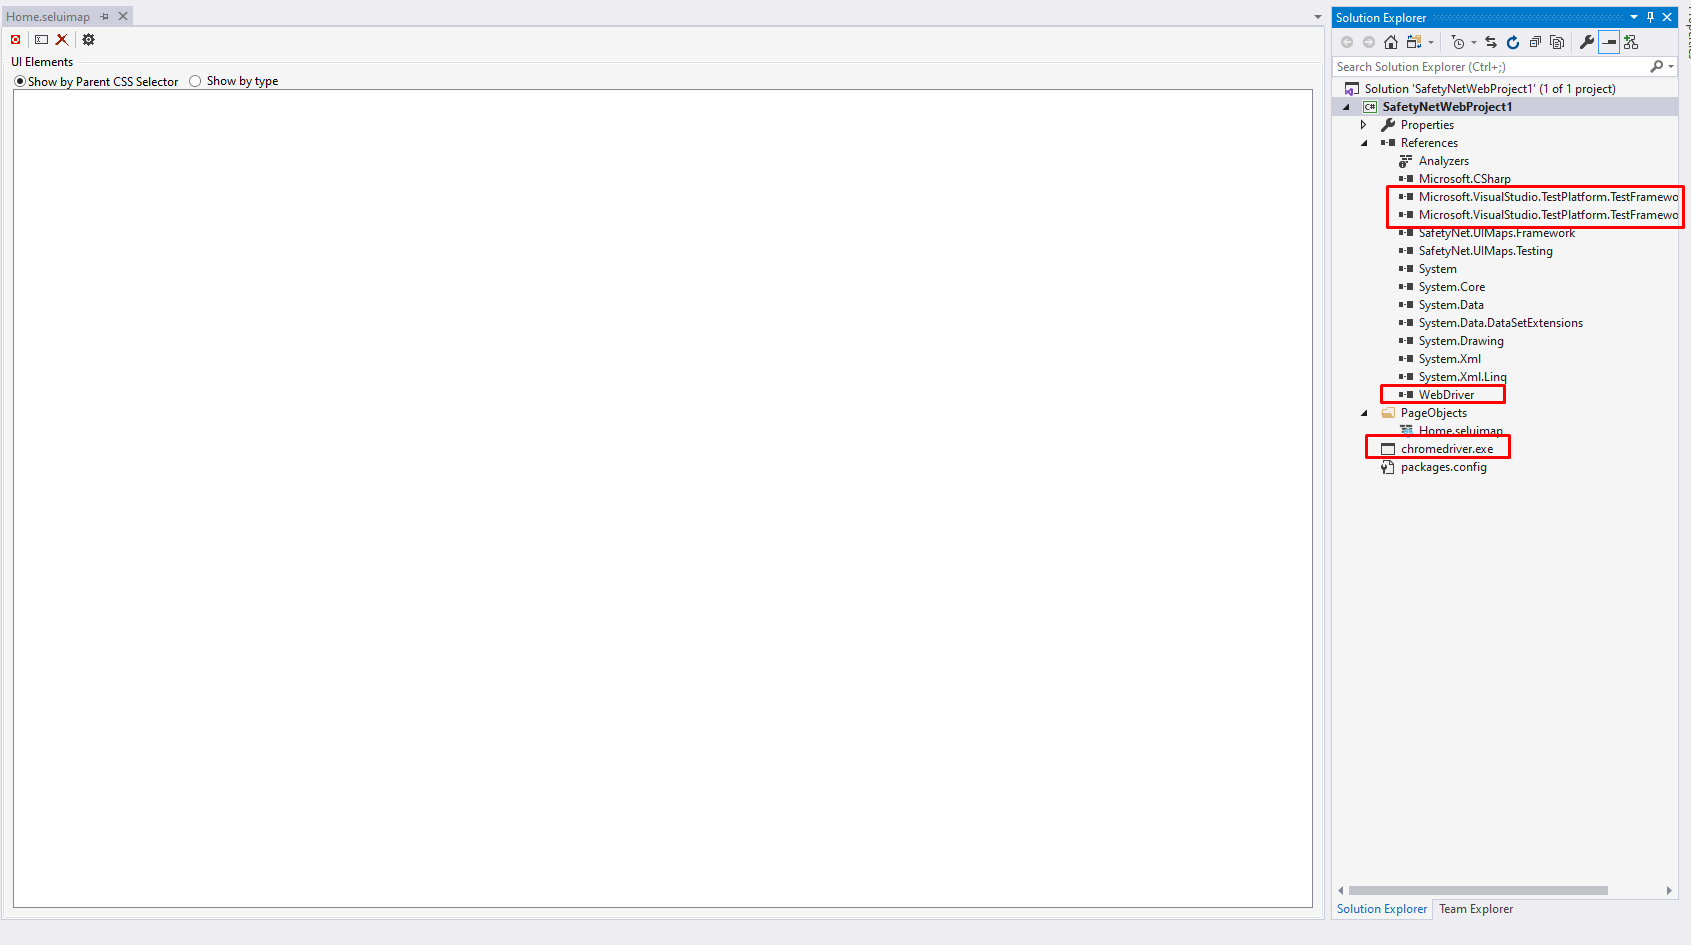
Most nuget packages are installed with the test project and they only need to be updated when required.
SafetyNet.UIMaps.Framework: Contains classes to wrap controls into classes that makes it easy to use them. Also contains settings and other utility classes.
SafetyNet.UIMaps.Testing: Contains helper classes for creating tests using the UI.
SafetyNet.UIMaps.WebDriver: This is the strong named version of the original Selenium nuget package.
SafetyNet.UIMaps.ChromeDriver: Contains the chromedriver.exe file needed to execute chrome tests.